Rethinking Initial Assessments: Setting the Foundation for Therapy That Actually Works
Mar 31, 2025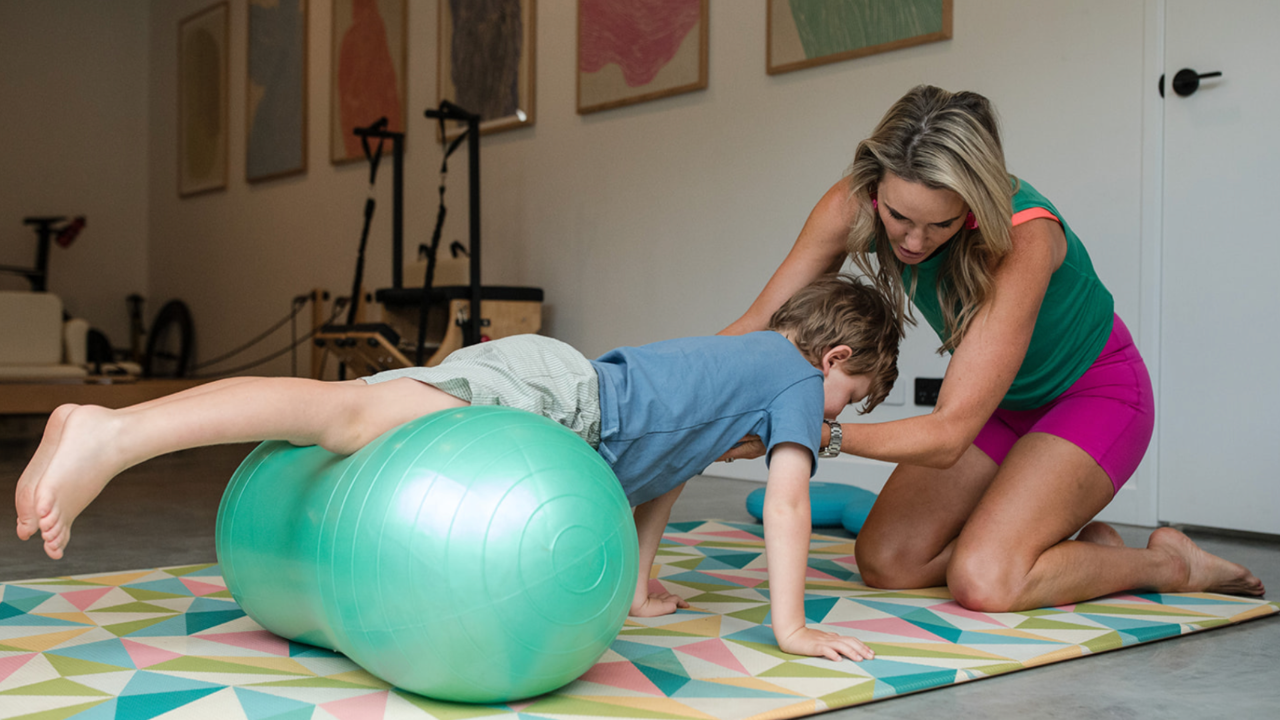
By Lizzy Dawson - The Paediatric Practitioner
When it comes to paediatric therapy, I’ve learned that a well-structured initial assessment can make all the difference. It’s what sets the tone — not just for the session, but for the entire journey ahead.
Over the past 18 months, My team and I have refined and restructured our approach to initial assessments at Kids Heart Pilates — not just to gather clinical information, but to strengthen relationships, improve communication, and create clarity for everyone involved. The result? More engaged clients, better outcomes and more fulfilled practitioners!
I am so excited to bring this together and share it with my community of health professionals! Introducing The Paediatric Assessment Protocol: Your Step-by-Step Guide to Paediatric Initial Assessment Success. This is now available online for you to use, copy into your practice management software and share with your team.
Here’s what my process looks like now — and the tools I use at every step to make it flow smoothly and purposefully.

Step 1: The Parent Pre-Screen Call
Connection starts before the child even walks in the door.
Before I meet a child, I always start with a phone call to the parent or carer. This gives us a chance to chat openly — without little ears around — and gives me the insight I need to prepare with purpose.
On this call, I:
-
Learn about the child’s background and current needs
-
Review developmental history, sensory preferences, and medical details
-
Hear the family’s goals and expectations
-
Request any relevant documentation (NDIS plan, reports, school notes)
I use my Parent Pre-Screen & Subjective Interview Template to guide this call. It’s structured but relaxed, and helps me build rapport while staying clinically focused. This is literally in my Initial template in Cliniko so I can input the answers easily.
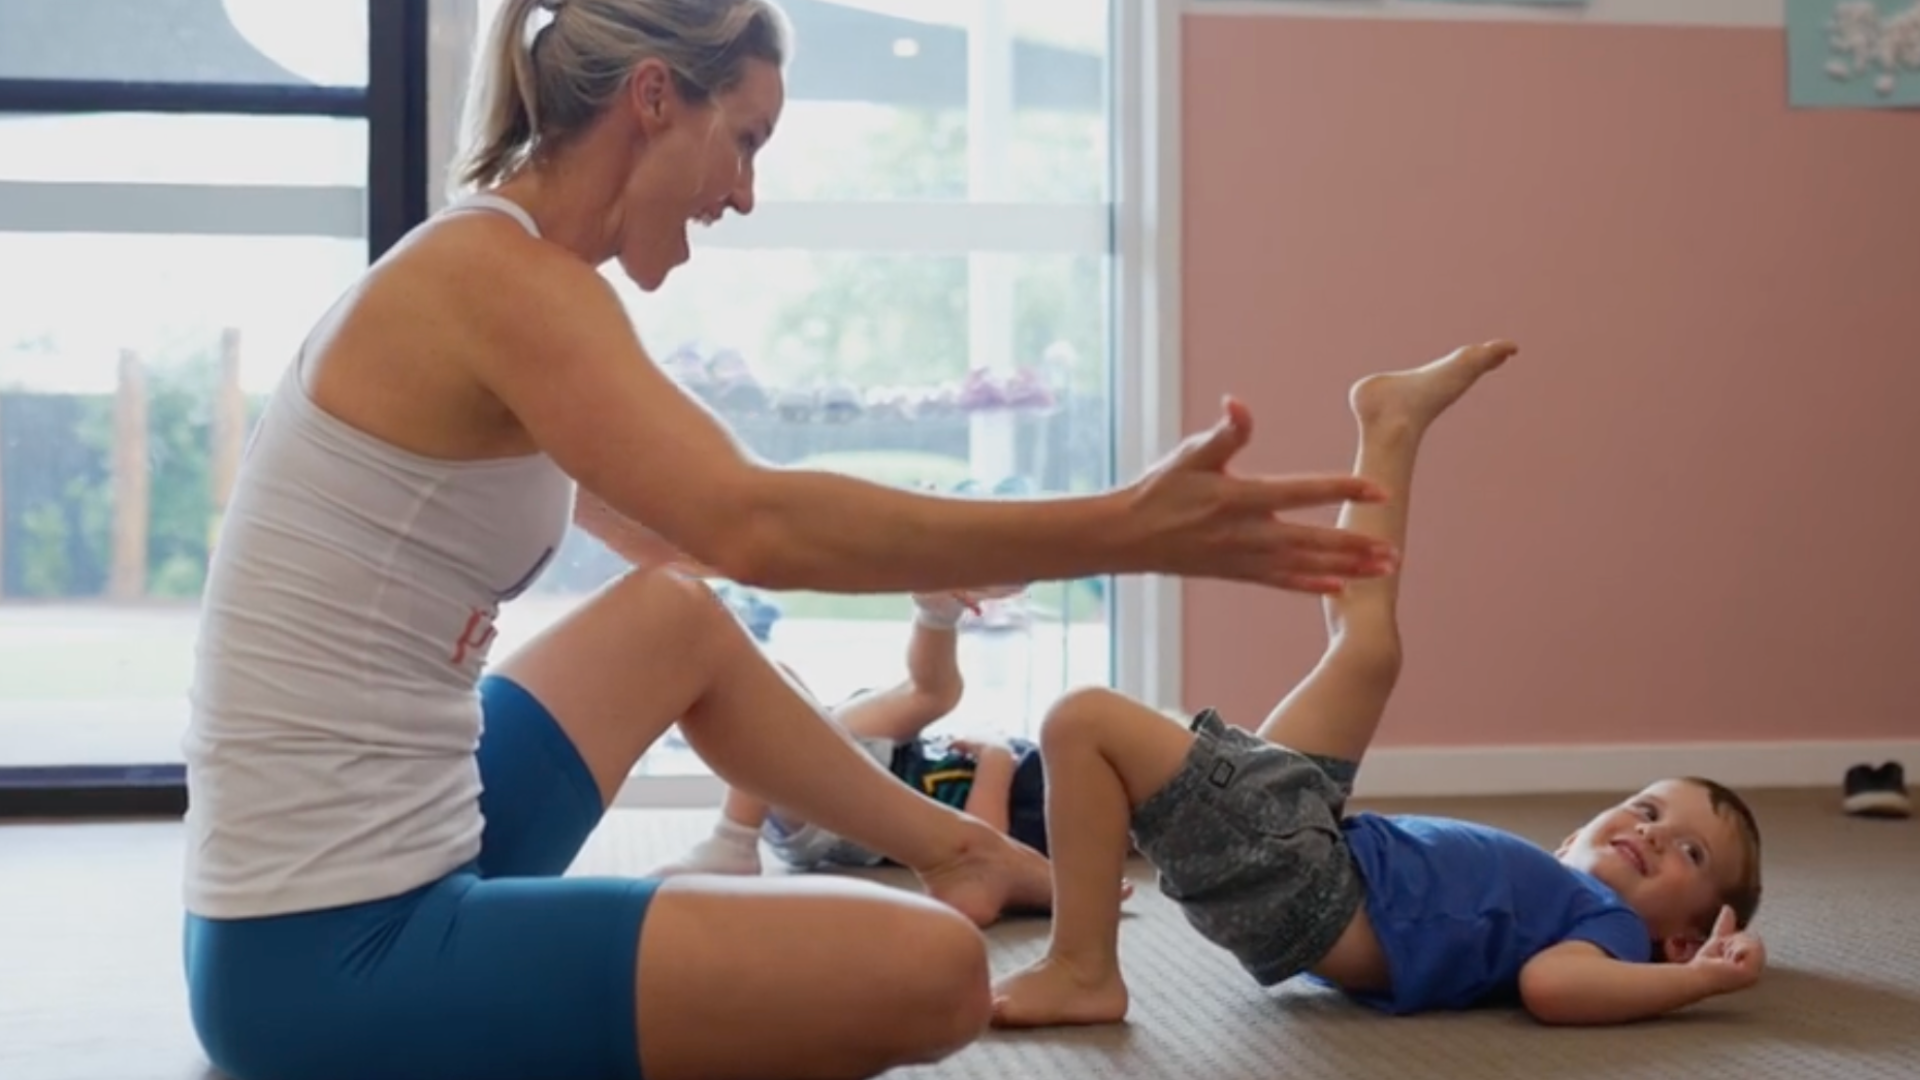
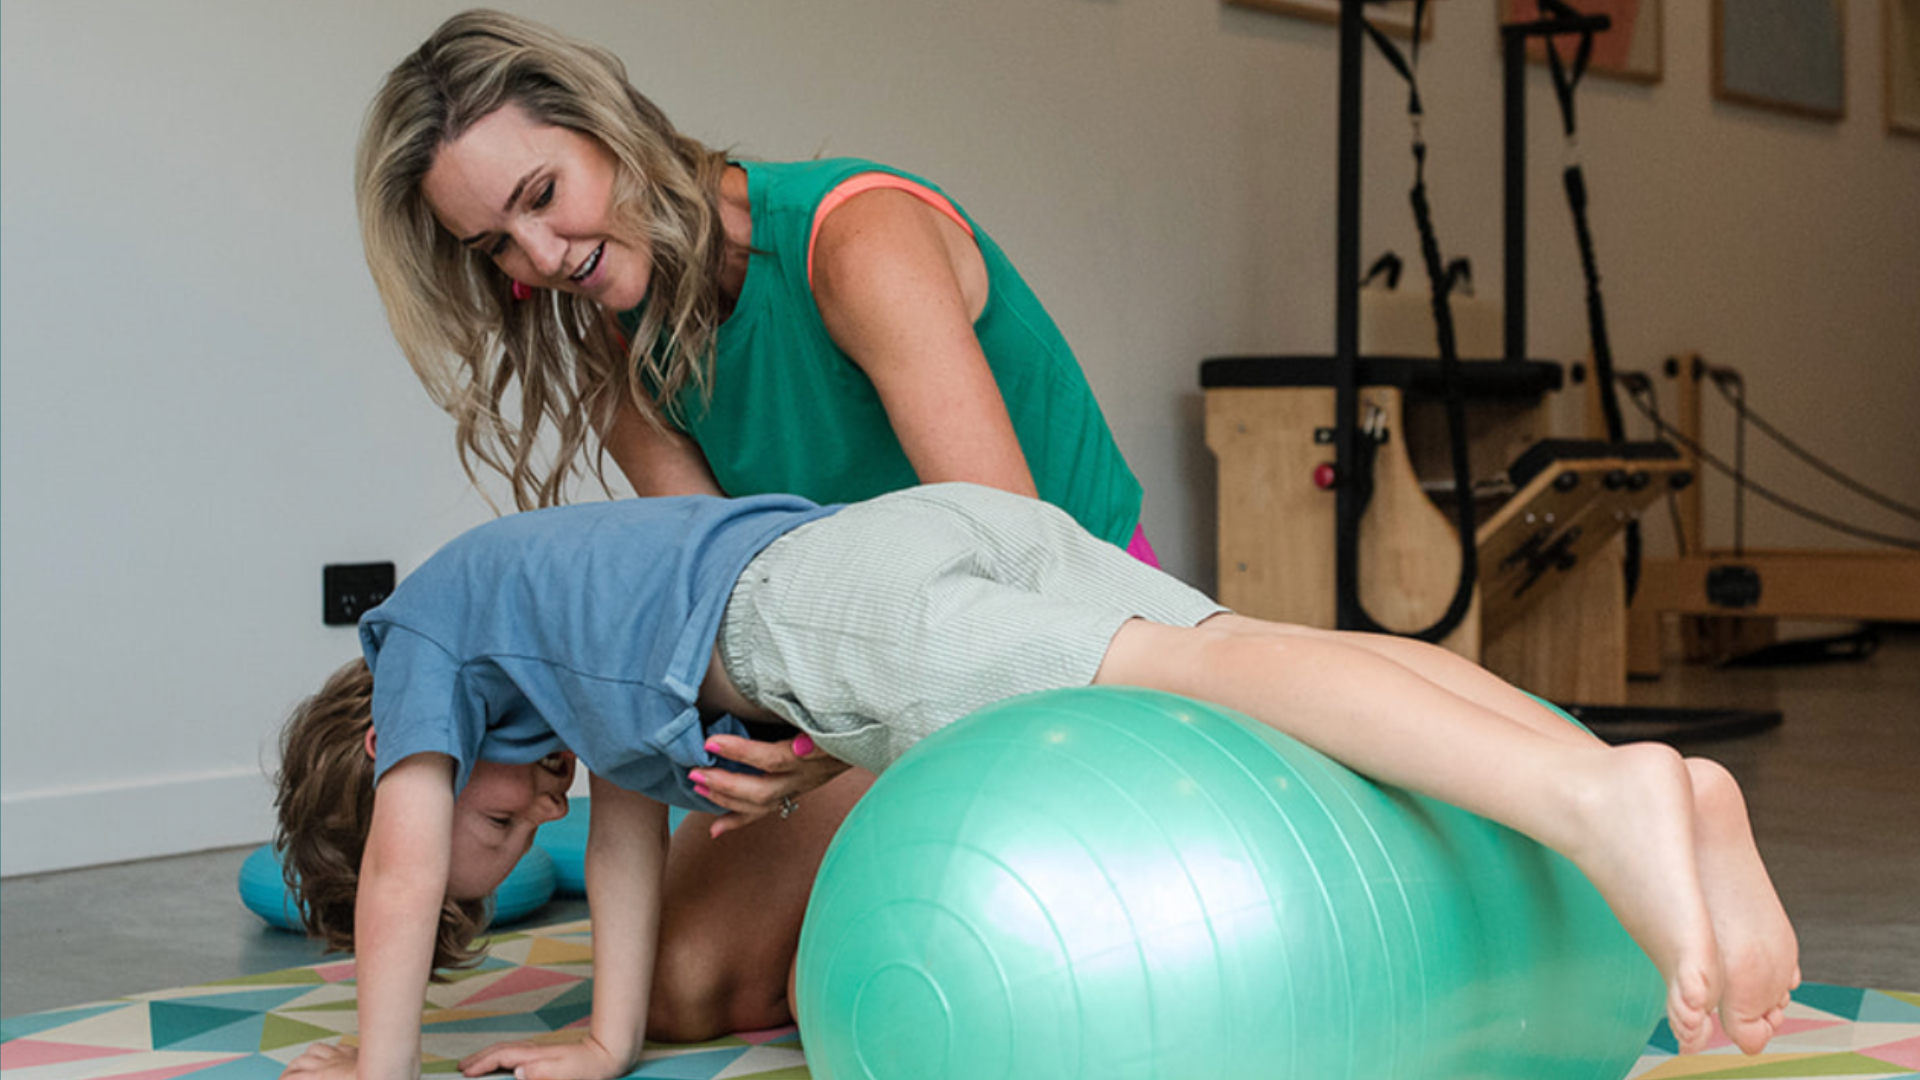
Step 2: The In-Clinic Observation & Objective Assessment
My first session with the child is all about connection — and quiet clinical observation.
While we play, move, and interact, I’m observing so much more beneath the surface:
-
Postural control and gross motor movement
-
Fine motor precision and endurance
-
Sensory processing and regulation strategies
-
Transitions, focus, and social-emotional cues
-
Communication and comprehension in real-time
My Objective In-Clinic Assessment Protocol helps me stay organised. I remove anything irrelevant and keep it flexible to suit the child. Having normative data and milestone reference points right there is a huge help — it lets me make informed decisions on the spot without juggling paperwork.
Step 3: SMART Goal Setting & Intervention Planning
Fluffy goals don’t serve anyone — especially the child.
After the initial assessment, I set clear, measurable SMART goals linked to the NDIS plan and the family’s priorities. I start with 12-month goals, then break them down into achievable 3-month milestones.
My Clinical Goals & Intervention Plan Template walks me through:
-
The skills we’re targeting
-
How I’ll measure progress
-
My clinical reasoning for the plan
-
What outcomes we expect and when we’ll review
-
What the sessions will focus on
This not only guides my therapy — it helps me communicate with families and other team members with more clarity and confidence.

Step 4: Parent Summary & Post-Assessment Follow-Up
Communication builds trust — and trust builds progress.
Within a few days of that first session, I send families a follow-up email. It outlines:
-
What I observed in the session
-
A snapshot of strengths and challenges
-
My proposed goals and therapy plan
-
Any educational resources or home activities
-
A summary they can share with school or other therapists
I use my Parent Summary & Post-Assessment Protocol to make sure everything’s covered and easy to understand — without overwhelming the parent with clinical jargon.
This email is one of the most important touchpoints in the entire process. It helps parents feel informed, seen, and part of the plan — right from the start.

Step 5: The NDIS Report (When Needed)
Professional, clear, and ready to advocate.
Once or twice a year — or ahead of a plan review — I prepare a formal NDIS report. These reports include:
-
A summary of assessment outcomes
-
Therapy goals and progress
-
Functional impact of the child’s current challenges
-
Clinical justification for ongoing support or funding
My NDIS Report Template is designed to match NDIS language and structure, which helps streamline the process and ensure the report lands where it needs to.
These reports take time, so I allow 2–4 hours depending on complexity and whether I’ve written one before. I also connect with the child’s other therapists to gather a complete picture.
And finally my Milestones Map which has been formulated from research and standardised assessments which tracks
-
Ages 2-6yrs
-
Motor skills
-
Sensory skills
-
Cognitive skills
-
Regulations and social skills
-
ACT NOW - Support and see AKA red flag markers
🎁 The Bundle That Brings It All Together
Each of the tools I’ve mentioned — from the first phone call to the final report — is part of my Initial Assessment Protocol.
Inside the bundle:
✅ Parent Pre-Screen & Subjective Interview Template
✅ In-Clinic Observation & Assessment Form
✅ SMART Goals & Intervention Plan
✅ Parent Summary & Follow-Up Email Template
✅ NDIS Report Template
✅ Our Milestones Map
It’s made my assessment process more structured, more efficient, and more supportive for everyone involved — especially the families I work with.
📥 Want to streamline your own assessment process? Grab the full Assessment Bundle here: https://www.lizzydawson.com.au/Paed-assessement-protocol-join
